
关于从头开始搭建个人博客网站
这里我会教你从零开始一步步搭建,基本所有的命令都已经写好了,你只需要按照这篇说明书操作(基本都是复制、粘贴、按 Enter)就行了,整个过程大概半个小时,还是很方便的,是当之无愧的保姆级教程,草履虫看了都会。那么,开始吧
极简版
只包含所有安装命令,更详细的指引请看后文
- 新建文件夹(根目录)用于存放博客文件(建议不要放在C盘)
- 把搭建压缩包里的
install.ps1复制到根目录下 - 安装依赖
1 | ./install.ps1 |
- 换源
1 | npm config set registry https://registry.npmmirror.com |
- 安装hexo
1 | npm install hexo-cli -g |
1 | hexo init |
- 安装插件
1 | npm install hexo-deployer-git --save |
1 | npm install hexo-deployer-git --save |
1 | npm install hexo-theme-butterfly --save |
1 | npm install hexo-renderer-pug hexo-renderer-stylus --save |
1 | npm install https://github.com/CodeFalling/hexo-asset-image --save |
- 在GitHub上创建一个名为
用户名.github.io的仓库,修改根目录\_config.yml最底下的deploy部分
1 | # 站点部署到github要配置Deployment |
- 执行hexo三连
1 | hexo clean |
1 | hexo g |
1 | hexo d |
- 修改
根目录\_config.yml,直接复制粘贴下面的内容覆盖原有内容即可。注意修改16行的用户名为你自己的用户名,同时最后的deploy部分按第7步写,不要看我这里的
1 | # Hexo Configuration |
- 修改主题配置文件
根目录\themes\butterfly\_config.yml,这个极简不了了,可以直接跳到
安装依赖
配环境是世界上最困难的事情之一 —— yxy
但是好在我已经把所有配环境的操作都写成了一个脚本,可以一键执行安装,下面请按步骤操作:
- 首先创建一个空文件夹,用于放置整个博客项目,哪里都可以,博客网站不会很大的。例如
.../hexo,后面我会把这个文件夹简称为 根目录 - 把压缩包里的
install.ps1脚本复制到根目录下 - 在根目录单击鼠标右键 - 在终端中打开,打开 powershell 窗口
- 执行下面的命令一键安装所有依赖,包括git、nodejs和npm
1 | ./install.ps1 |
执行下面命令测试git是否安装成功:
1 | git --version |
如果安装成功则会输出类似下面的版本号
1 | C:\Users\Dr.Yang>git --version |
如果你从来没有使用过Github和Git,可以参考 这篇文章 创建Github账号并配置ssh连接,使用下面的命令测试ssh连接是否正常:
1 | ssh -T git@github.com |
如果ssh连接正常,则示例输出如下:
1 | C:\Users\Dr.Yang>ssh -T git@github.com |
然后,执行下面的命令测试nodejs是否成功安装:
1 | node -v |
安装成功则输出类似下面的版本号:
1 | C:\Users\Dr.Yang>node -v |
执行下面命令测试npm是否正常安装:
1 | npm -v |
安装成功则输出版本号:
1 | C:\Users\Dr.Yang>npm -v |
如果上述三个依赖都成功安装,那么恭喜你成功完成了最难.的部分——配环境
也恭喜我第一次成功写了一个一键配环境的脚本(bushi
安装hexo
安装完依赖(主要是git、scoop和nodejs)后,就可以正式开始安装hexo了。
hexo是一个博客框架,相当于一个博客网站的模板,安装之后就已经得到了一个可运行的博客网站,然后自己再次基础上进行自定义就行
首先在你的电脑上找一个地方新建文件夹,用于存放博客网站的所有文件,例如 D:\hexo。哪里都可以,因为博客网站很小,不会超过2个G。
后面我会简称这个文件夹为 根目录
安装hexo的操作极其简单,也是一行命令就行。
在根目录中 右键 - Git Bash Here,先换源加快下载和安装速度:
1 | npm config set registry https://registry.npmmirror.com |
然后一键安装hexo:
1 | npm install hexo-cli -g |
然后就可以初始化hexo博客了:
1 | hexo init |
执行完上面的init命令后,你就会发现根目录下已经有了不少文件,这说明到这一步为止都非常顺利
安装插件
上面安装的只是最基础的hexo框架,有很多功能需要靠安装插件来实现,下面是几个必要的插件,安装命令同样在根目录下打开终端执行
- github部署插件:用于将博客网站部署到github上
1 | npm install hexo-deployer-git --save |
如果不部署在github只部署在本地,你的电脑就是服务器,只要你的电脑关机,别人就无法访问你的博客了
- 主题插件butterfly
1 | npm install hexo-theme-butterfly --save |
主题可以理解为博客网站的皮肤,这款 butterfly 主题还是很漂亮很高大上的,当然需要后面进行一点配置
- 安装渲染插件
1 | npm install hexo-renderer-pug hexo-renderer-stylus --save |
这些是 butterfly 主题需要的插件,用于网站特效的渲染和显示
- 安装图片处理插件
1 | npm install https://github.com/CodeFalling/hexo-asset-image --save |
在hexo博客上显示图片是一个非常非常麻烦的问题,后面我会再介绍,现在先把插件装上先
上面所有插件安装时,如果遇到网络错误安装失败,可以试试用一点点魔法
安装完之后可以执行下面三个命令生成网站并预览:
1 | hexo clean |
注意执行完hexo s后不要关掉命令行窗口也不要停止命令,不然就访问不了了
然后在浏览器上输入 localhost:4000,回车,就能看到一个模板博客网站
如果能够成功显示网站,那么说明到此为止的所有操作都成功执行,可以继续往下
部署到github上
可以注意到上面我们访问博客网站的网址是 localhost:4000 说明目前的博客其实是部署在本地的
说人话就是,这个博客网站就像一个软件,通过 hexo s 这个命令运行。所以一旦运行 hexo s 的命令行关闭了或停止执行了,就相当于这个软件关闭了,就无法访问网站了
这就是说,如果想要你的网站保持开放,就需要24小时不关电脑并且挂一个软件在后台,非常麻烦。所以需要部署到Github上,博客服务就由Github Page提供而不依赖于本地了
注册Github账号并创建仓库
如果你从来没用过Github,先注册一个账号
然后创建一个仓库,仓库名必须为 用户名.github.io
例如假如我的GitHub用户名是Fengxr,那么创建的仓库名就必须为 Fengxr.github.io
修改配置文件
打开配置文件 根目录/_config.yml ,修改最底下的deploy配置为下面内容:
1 | # 站点部署到github要配置Deployment |
把本地hexo提交到GitHub仓库
完成上述配置后,在根目录下 右键 - 在终端中打开,然后输入下面三个命令:
1 | hexo clean |
1 | hexo g |
1 | hexo d |
后面我会把这三个命令简称为 “hexo三连” ,因为所有的设置或配置都需要执行 hexo三连 才能保存生效
执行后,本地的博客文件就上传到GitHub上了。
现在就可以通过 https://username.github.io 访问你的博客了,注意把 username 换成自己的用户名
配置外观和功能
首先说明一下,自定义配置过程会用到两个文件:
- 根目录下的
_config.yml:用于配置网站的全局设置,打个比方,对人物本身(脸型、身材……)做调整 根目录\themes\butterfly\_config.yml:对主题进行设置,打比方就是,对人物的皮肤/衣服穿搭做调整
然后,我们需要做一点点前置准备
前置准备
其实这部分就一步——新建一个文件夹。
具体来说,新建用于存放图片的文件夹 根目录\source\img ,之后所有的图片都放在这里
全局配置
打开 根目录下的 _config.yml 需要进行全局配置的部分很少,看我下面讲就好
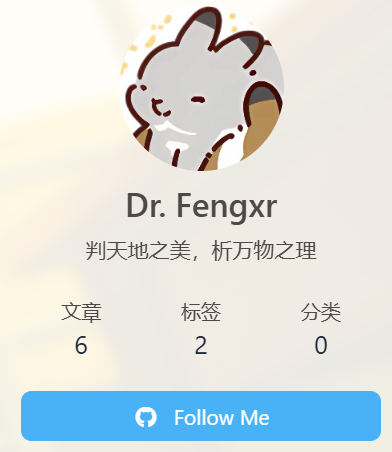
作者
下面的部分用于设置网站名title、作者信息author和语言language
1 | # Site |
生成永久链接
Hexo 文章链接默认的生成规则是::year/:month/:day/:title,是按照年、月、日、标题来生成的。
这样的话,生成的链接非常长长长长长,而且如果我们的 Markdown 使用中文标题,那就更惨了,URL 一转码,将是一场灾难。所以下面的设置是让你的博客的链接变得简洁好看
把原本的内容:
1 | permalink_defaults: |
替换成我下面的内容:
1 | # URL |
启用主题
然后下面很长一段都不用改,直接下拉到倒数第二部分、deploy前面一个部分
这里把theme选项设置为butterfly,然后后面加一个插件,用于显示latex数学公式。如果不加这个插件,你在网站上看到的就不是渲染后的公式 而是 $\frac{1}{2}gt^2$
1 | # Extensions |
github部署
最后就是修改deploy部分(之前已经讲过了),如果你忘记改了这里记得改成你的Github账号
1 | # 站点部署到github要配置Deployment |
全局设置就这么多,接下来我们来到最立竿见影的主题设置
主题配置
详细的主题配置说明文档可以看 官方文档 ,每个选项有什么用、怎么设置都讲的很详细也很简单。我这里总结了一些有用的(因为有些功能虽然很高大上但是麻烦又鸡肋)
现在打开 根目录\source\themes\butterfly\_config.yml 这个文件,注意不是之前的全局配置文件,而是butterfly主题目录下的配置文件,虽然名字一样但是位置不一样
然后下面开始从头看一下这个配置文件里哪些有用,以及,怎么用
右上角导航栏
配置文件的这个部分用于设置导航栏
1 | # -------------------------------------- |
nav选项部分不用动,menu选项就对应了右上角的导航栏有哪些按钮:

前两个按钮:首页和时间轴都是配置好的,前者用于返回首页,后者用于显示文章发布的时间轴
后面的页面需要一点点配置
标签页
首先来配置标签页:
- 前往根目录,右键 - 在终端中显示
- 输入
hexo new page tags - 找到
source/tags/index.md文件 - 修改这个文件:
1 | --- |
参数设置选项:
- type:【必须】页面类型,必须为
tags - orderby:【可选】排序方式
- random:随机排序
- name:标签名字排序
- length:标签数量排序
- order:【可选】排序次序
- 1:升序
- -1:降序
分类页
接下来配置分类页,用于统计所有的分类
- 前往根目录,右键 - 在终端中显示
- 输入
hexo new page tags - 找到
source/tags/index.md文件 - 修改这个文件:
1 | --- |
友情链接
有点复杂且没用,可以删掉menu里友情链接这行,也可以留着好看(bushi
照片
有点复杂但有用,但是yysy专门把照片存博客上除了仪式感好像真没什么必要。如果有兴趣可以参考 官方说明 ,也不难
说说
配置不算复杂,但是发说说有点复杂,评价是不如直接发朋友圈发牢骚))。如果想体验一下仪式感/新鲜感,还是一样参考 官方配置方法
关于
可以删掉也可以留在导航栏做装饰(bushi
代码块
接下来把配置文件往下滚,看到代码块配置
1 | code_blocks: |
感觉有必要修改的只有最后两个选项:
- shrink(可以自己试试这两个选项有什么用)
- true:收缩代码块
- false:展开代码块
- fullpage:是否全屏显示代码块(一般false就好)
图片设置(重中之重)
头像
1 | avatar: |
顶部图
1 | # Disable all banner images |
default_top_img: /img/background.jpg :默认顶部图,没有特殊设置时,所有页面的顶部图都会用这里设置的默认图。所以一般设置这个即可。
注意到这里设置的相对路径 /img/background.jpg 对应的实际路径是 根目录/source/img ,所以只要把图片放到 根目录/source/img 目录下,然后修改default_top_img为 /img/图片文件名.后缀名 即可
像 index_img 、archive_img 这些,我都设置成了 /img/background.jpg 但其实我留空它们也会用同样的默认值,所以留空也没关系
网站背景
1 | # Website Background |
注意这里 background 选项的值为url,即 仓库url/img/图片名
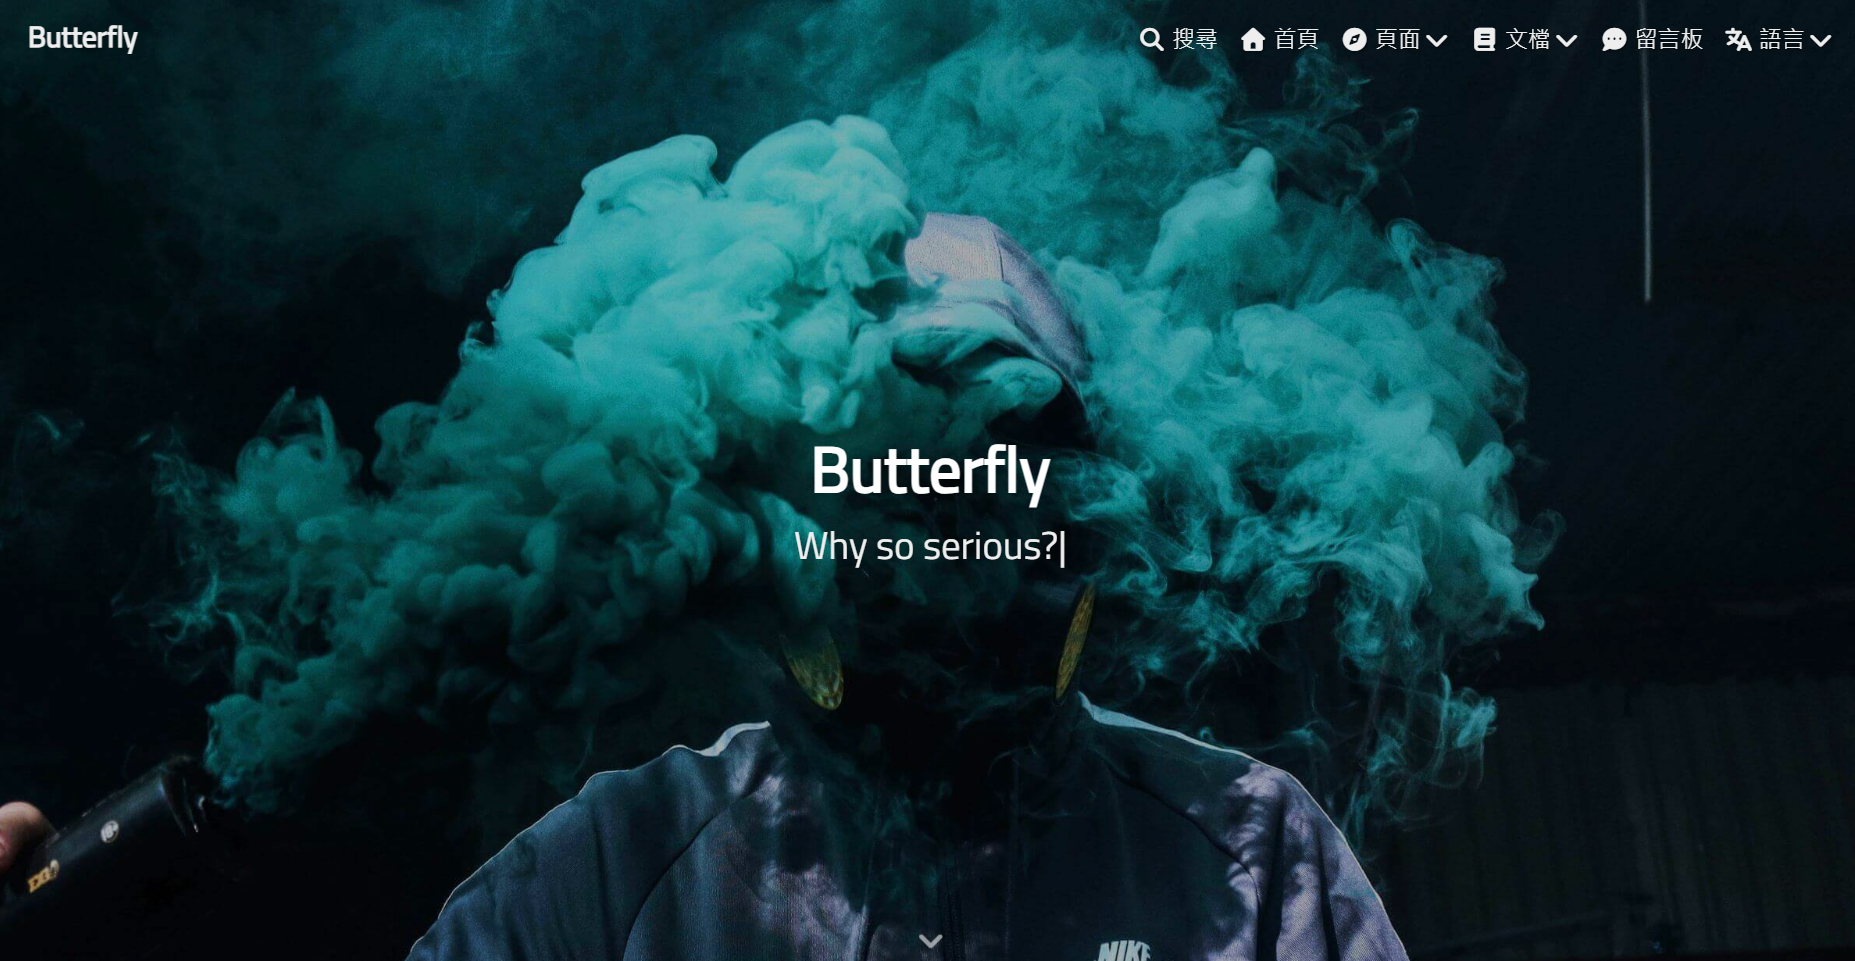
网站副标题
网站副标题就是网站标题下面打字机效果显示的文案
1 | # 主頁subttrue |
要改文案只用改最后sub选项下面的文案,你可以添加所有自己喜欢的文案,但是